Printing for Windows
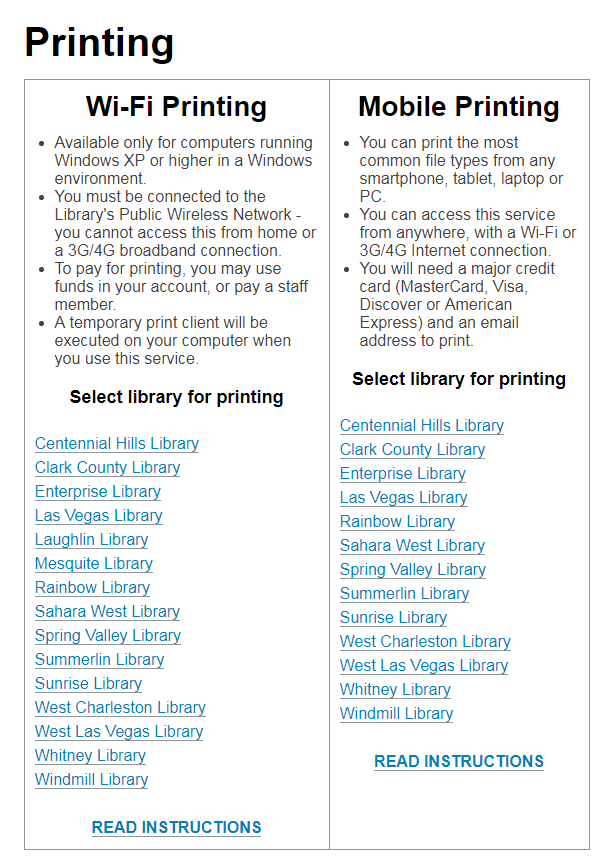
- Select your library location from the list of branch. Laptop must be signed into our wireless to access Wi-Fi Printing.
- When the dialogue box appears, select the appropriate link.
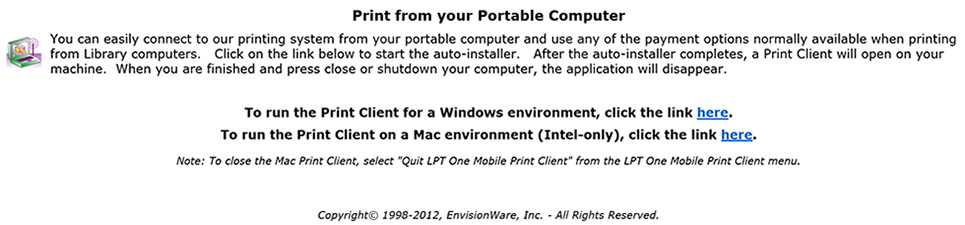
- For a Windows machine click "Run" when the dialogue box shows up at the bottom of the screen.
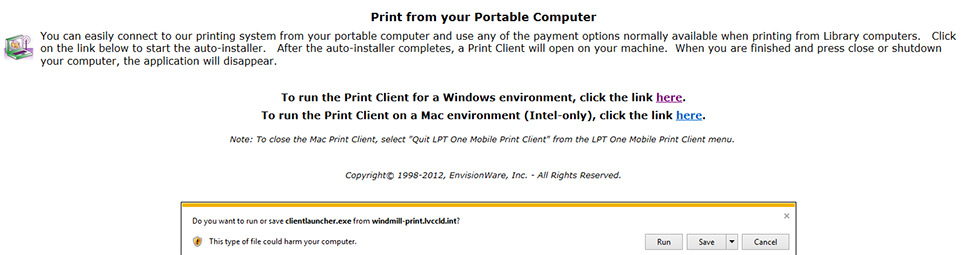
- Windows 10 or Smart Screen will caution you about what you are doing. Click "More Info" and then click "Run anyway" to proceed.

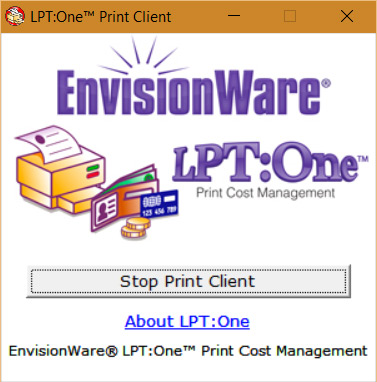
- The Print Client will load and the LPT:One Print Client box will appear in your tool bar at the bottom. This box may be minimized until you are finished printing.
- Check to see that the new printers appear in your printer control panel.
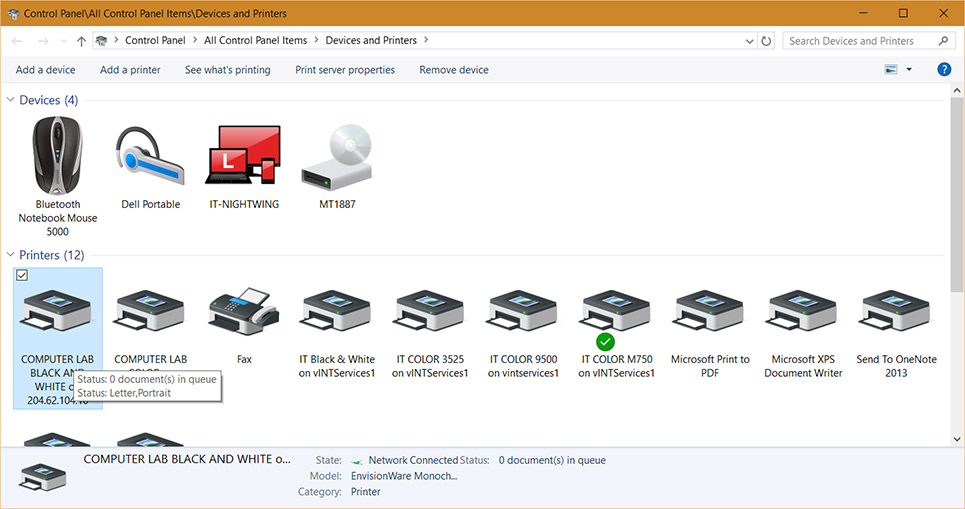
- Print your document to the newly installed default "District" printer, selecting either black & white ($.10/pg) or color ($.50/pg).
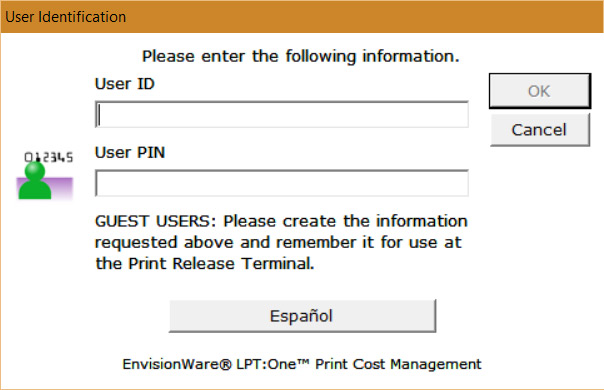
- Enter you library card number and PIN and click "OK".

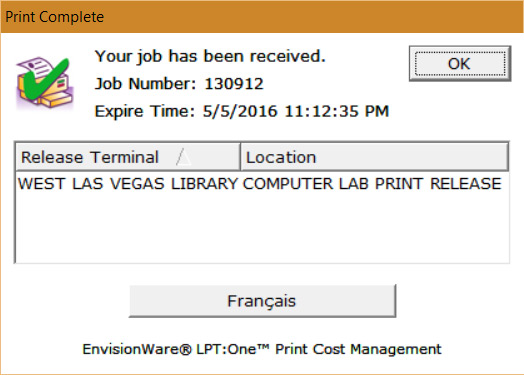
- Confirm the number of pages to print and select "OK". Funds will not be deducted from your account until you release the print job.
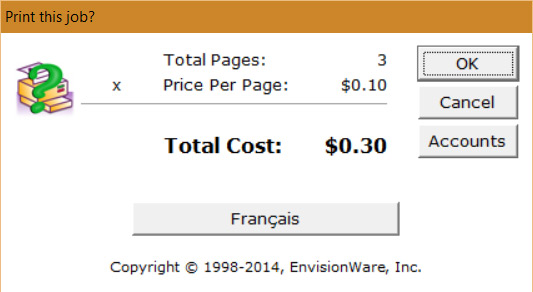
- Complete your submission by selecting "OK" and proceed to the print release station at the appropriate branch and release the print job.
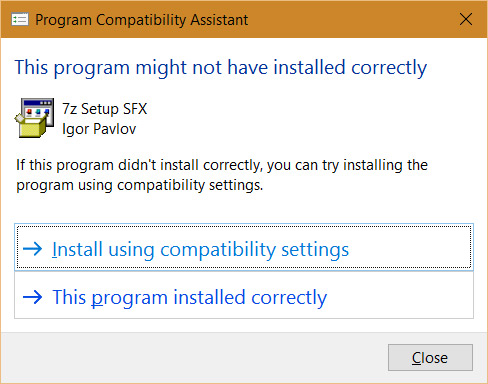
- When you are finished, close the LPT:One Print Client box; you may see this dialogue box. Select "This program installed correctly".